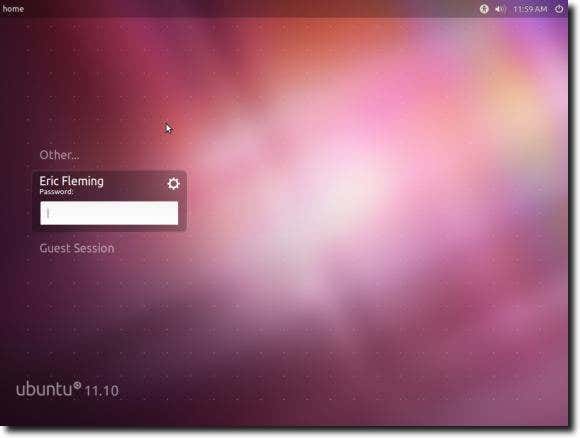
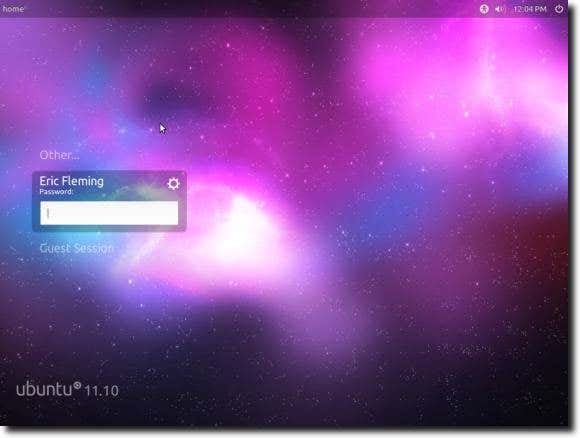
Ubuntu 11.10 brought with it quite a few changes. The Unity desktop is now the default (with only the GNOME Shell and GNOME Fallback sessions available for those who want something different), and GDM – the longtime login manager – was replaced with LightDM. So now, when a user logs in, they will see this.
But what if a user wants something a bit different? Maybe their own image as the login screen background? Happily, this is easily acomplished, and can be done a couple different ways. You can edit a simple text file – replacing the standard background image with your own – or install a separate program, which allows you to change the background by pointing and clicking. In reality, all you are doing is having the program edit the text files for you, but for many people this will be simpler, and a bit less scary. However, for this article, we’ll cover how to switch the standard background to something you choose, all by editing a single configuration text file.
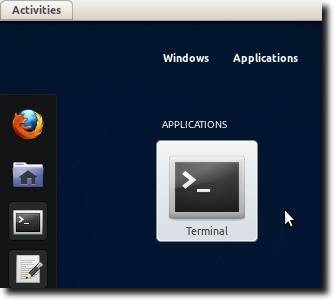
To do this, first open up the Terminal.
Now open up the configuration file. We’ll actually be editing a configuration file for the Unity Greeter – which is used by default. This file contains a great deal of configuration options. In addition to editing the background image, you can tweak the GTK theme, the icon theme, the font (and size), and even the resolution of the login screen. Most of these changes are pretty self-explanatory, but for this tutorial we’ll just change the background image.
Before we do this, however, let’s make a backup of the configuration file, just in case something should go wrong. This way, we’ll still have an unedited copy that we can use to replace the edited copy. Typing sudocp /etc/lightdm/unity-greeter.conf /etc/lightdm/unity-greeter.conf.bak will make a copy in the same folder, but with .bak added to the end.
Once we’ve done this, it’s time to open up the file and begin editing. You’ll need to open the configuration file as root, since only someone with administrator privileges can edit this particular file. We’ll use the nano text editor, so type sudo nano /etc/lightdm/unity-greeter.conf to open the file.
You’ll see something like this.
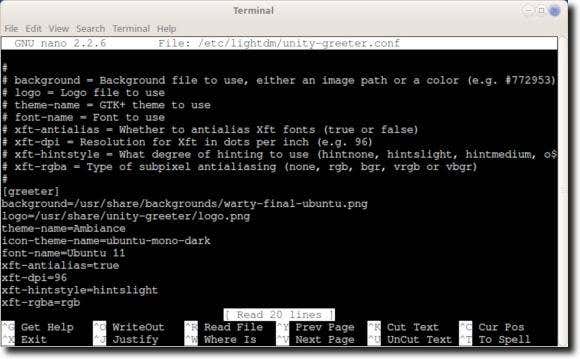
A few lines down is the option we’ll edit. It should read as follows by default.
As you can see, this simply points LightDM to a particular file, in this case an image named warty-final-ubuntu.png which is located in the standard backgrounds folder. So, let’s say we have a favorite image that we want to use instead. The name of the image is Reborn.png and it’s located in the Pictures folder inside our Home directory. We would just replace the path of the original image with the path to our own. It will now look something like this (depending, of course, on the path to your image as well as the image name).
Note: the image you select needs to be in an unencrypted part of your hard drive. So if – when you installed Ubuntu – you chose to encrypt your Home folder, then the image can’t reside there, as it isn’t unlocked until you login to your account.
Once you’ve made the change, go ahead and save the configuration file and logout.
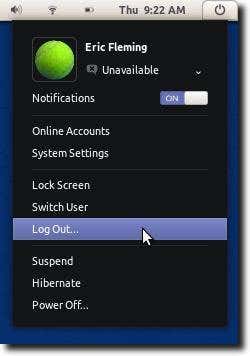
You should now see the LightDM login manager, but with your own image as the background.
Assuming everything worked as expected, you’re finished. Enjoy your new look! If something horrible happened, you can always replace the edited unity-greeter.conf file with the copy you renamed. To do this, simply delete the edited copy and rename the copy with .bak at the end back to its original, and all should be well.


